Tuesday, September 24, 2013

Apple Sauce Muffins

We made these kid-friendly muffins during our letter "A" week as a fun healthy snack. My mom used to make these when I was a kid, now my little munchkin enjoys them, and I hope your little ones do too!
 
Apple Sauce Muffins
 
Ingredients - See below for Recipe
 
 
Mix dry ingredients in bowl then set aside.
 
 
Mix wet ingredients in bowl then add to dry mixture.
 
 
Batter should be slightly lumpy
 
 
Grease muffin tin, then scoop batter until all 12 or 24 spots are full
(we used a mini muffin tin this time)
 
 
Bake @ 400* for about 20 minutes
 
 
Let them cool on a rack
 
 
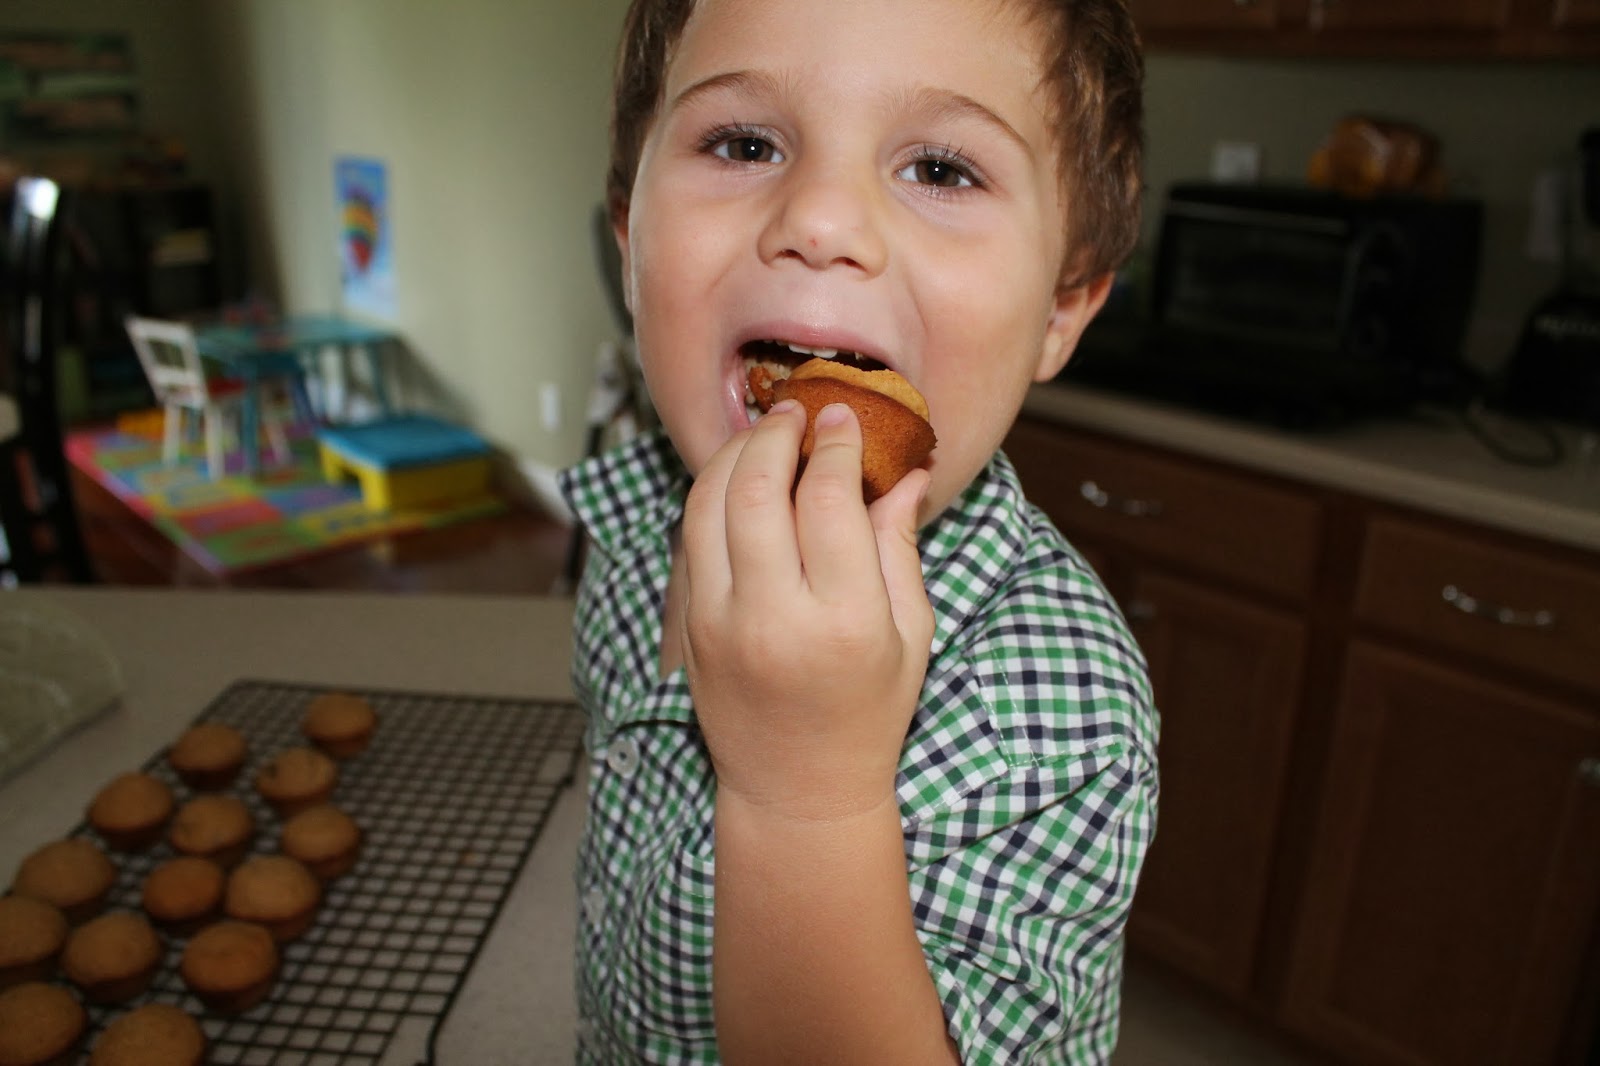
Perfect size for this Preschooler
 
 
Tested & Approved
 
 
So good he had to stuff it!
 
Ingredients
  • 1 3/4 cups whole wheat pastry flour
  • 2 teaspoons baking powder
  • 3/4 teaspoon cinnamon
  • 1/4 teaspoon ginger
  • 1 egg
  • 3/4 cup unsweetened applesauce
  • 1/2 cup honey
  • 1/3 cup oil or melted butter
  • 1/4 cup unsweetened apple juice
  • Raisins or Pecans (optional)
Directions
  1. Mix dry ingredients in bowl (set aside)
  2. Mix egg, applesauce, apple juice, honey, and oil (or butter)
  3. Add wet mixture to dry mixture
  4. Stir until batter is slightly lumpy
  5. fold in raisins and pecans (optional)
  6. Fill greased muffin tin (12 regular or 24 mini)
  7. Bake @ 400 degrees for about 20 minutes or until golden
  8. Let cool and serve warm
Enjoy this healthy letter "A" snack
 

Sunday, September 22, 2013

Family Fun Night - Letter A

This past week we started to incorporate "The Letter of the Week" curriculum by Erica @ Confessions of a homschooler. She suggests a family fun night at the end of each week, which I think is a great idea.
 
My plan is to make a yummy treat that starts with the letter of the week and then watch a family movie, play a game, or do something that starts with the letter as well.
 
This week, for the letter A, we made mini apple pies and homemade ice cream, and watched "Aristocats."


C helped mix the apples, sugar, flour, and spices.  Then we set them aside to prep the muffin tin with pie crust.
 
 
Roll out pie crust and use a cup to cut out circles for your muffin tin.
Fit pie crust into all 12 spots. Set scraps to the side.
 
 
Scoop filling into each pie crust
 
 
You may need to help your little top them off!
 
 
Place a dollop of butter on top of each mini pie.
 
 
Place scrapes on top of each pie (however you'd like to). Brush with some melted butter then add a sprinkling of sugar on top.
 
 
Bake in the oven @ 400' for about 20 minutes.
 
 
Until golden and Yummy!


Make your own homemade ice cream or add your favorite store-bought brand.
 
 
Here is the final product.
 
 
Tested and approved by my little man - A is for Apple Pie
 
 
Mini Apple Pie Recipe
 
Ingredients
 
  • 4 cups of apples cut into small pieces
  • 6 Tablespoons of flour
  • 3/4 cups sugar (plus extra to sprinkle on top)
  • 2 teaspoons cinnamon (heaping)
  • 1/8-1/4 teaspoon nutmeg (optional)
  • 2-3 Tablespoons chilled butter cut into little dollops
  • 1 Tablespoon melted butter (to brush on top)
  • 1 box of chilled pie crust
 
Directions
 
*See above pictures
 
Other Letter A Family Fun Night Ideas (OR Family Outing for the Weekend)
  • Play Super Why ABC Letter Game (perfect for preschoolers)
  • Play Apples to Apples Junior (kids need to be a little older)
  • Watch "Adventures of Tintin"
  • Watch Disney's "Airplanes"
  • Go on an "Adventure"
  • Go to an Air Show (we live near an airbase that does this a few times a year and if the timing works out then great!)
  • Look for Airplanes flying overhead while taking a family walk
  • Tour a small local Airport (call to see if they do this in your area)
  • Go to the zoo to look at the Animals and find all the ones that start with the letter A
  • Fly paper Airplanes
  • Make a model Airplane
  • Start an Ant Farm
  • Go to an Art Gallery or Art Show
*Plan something based on what your child is into!
 
What other activities do you have in mind for the letter A? Please share or let me know what you think!


Saturday, September 21, 2013

Preschool - A is for...

This is my first official year of mostly following a curriculum for my 3 year old preschooler. We are actually following 2 curriculums flexibly plus extras.

I found this sight called http://www.abcjesuslovesme.com/ with a free curriculum in which we are following the schedule for the school year, along with what to introduce each week (letters, numbers, shapes, colors, bible story). This curriculum is pretty basic, no day to day plan, just what to introduce each week with every fourth week being a review week/catch up week (to cover whatever you didn't get to.

I believe a week is plenty for everything they suggest, but I am also incorporating the "Letter of the Week" curriculum by Erica @ http://www.confessionsofahomeschooler.com/ which I absolutely love! She has so many ideas and a day to day plan, that an extra week to review and finish up anything we missed works out great for us.

I also incorporated some extra crafts and fun stuff that I came up with or found on pinterest for this weeks main focus of the letter A.

Hope you enjoy! =)

 
 C is supposed to be making a collage with the alligators on the blank A page, but decided to add them to his practice cut & paste page. His favorite thing to do is the "do a dot" page which is in blue (all 3 activities by Erica @ confessions of a homeschooler)

 
We made ants out of an egg carton. I let C pick the colors

 
After the paint dried we cut up a pipe cleaner and used it as the antenna and legs.

 
I made one too. Oh and don't forget the googly eyes. =)
 
 
The final product

 
Our letter "A" for Angry
Ok...so this was supposed to be an alligator, but C wanted to put the eyes on top rather than the side and my husband thought it was A for angry (so we'll go with that).

 
His letter projects for the week.
 
Found both on Pinterest and altered just a little, but here are the links:


Here are a few more ideas on the letter A 
  
Letter A Snack Ideas
  1. Apple Slices
  2. Apple Sauce
  3. Almonds
  4. Almond butter on Toast or fruit
  5. Apricots
  6. Animal crackers
  7. Artichokes
  8. Avocado
  9. Asparagus
  10. Ants on a Log
Letter A Sweet Treats
  1. Apple Pie 
  2. Apple Tart
  3. Apple Cobbler
  4. Angel food cake
  5. Apple fritters 
Books to Read "A"
  • "Apples and How They Grow" by Laura Driscoll
  • "My a Book" by Jane Belk
  • "The Apple Pie Tree" by Zoe Hall
  • "Angels Watching Over Me" by Lynn Hodges
  • "A is for Zebra" by Mark Shulman
  • "An Ant's Day Off" by Bonny Becker
 
 
Hands On - Sensory or Scavenger Hunt
 
This week I filled a basket with things that begin with the letter A or you could even make a list up and have your preschooler find the items on the list. Here is my basket:
 
Alligator, Big A, little a, Antlers, Apple, Army man, Airplane, Foam Ant, My "a" Book


Hope this information was helpful, please leave a comment and let us know what you thought of the post.


Wednesday, September 4, 2013

Coconut Chocolate Chip Cookies

Found this recipe on pinterest and so far these cookies have been a huge hit with my family. The recipe calls for coconut oil so there is no butter and no white sugar.

Mixing in the Coconut and Chocolate chips!
 
Yummy Goodness!!!
 
Almost ready to eat (if you haven't eaten some dough yet)!
 
Place on rack to cool.
 
Enjoy with some Hot Cocoa, Tea, or Coffee

They didn't last very long...trust me!
 

Coconut Chocolate Chip Cookie Recipe

Ingredients: 

  • 1/2 cup coconut oil
  • 1 cup + 1 tablespoon Brown sugar (packed)
  • 2 eggs (room temperature)
  • 1 tablespoon pure vanilla extract
  • 1 3/4 cup all purpose flour
  • 1/2 teaspoon salt
  • 1 teaspoon baking powder
  • 1/4 teaspoon baking soda
  • 12 oz. semisweet chocolate chips
  • 1 - 2 cups shredded coconut oil

Directions:

  1. Preheat oven to 375' F. Spray your cookie sheet
  2. Use a mixer to beat the coconut oil and brown sugar in a large bowl. Add the eggs and beat until fluffy. Add the vanilla
  3. Combine flour, baking soda, salt, and baking powder in another bowl.
  4. Mix the flour mixture into the coconut mixture a little bit at a time until all the flour is incorporated. Add the chocolate chips and shredded coconut, mix well.
  5. Drop small spoonfulls on to your baking sheet. Bake 8-9 minutes or until slightly browned around the edges. They are going to be really soft and chewy!
  6. Let them rest on the cookie sheet for a few minutes before transferring to your cooling rack and let cool completely. So Yummy....Enjoy!
Here is where I found these amazing cookies!
Thank you so much to The Well Traveled Wife! These cookies really are amazing! =)


Thursday, July 18, 2013

A Little Sparkle DIY Chandelier


How many of you have moved into a home and found you had this ugly brass colored chandelier handing in the dinner area? I was given this one by a couple who just moved into a new home and didn't really like it. They saw ugly and I saw what it could be. I decided to take it home repurpose it for my design office area. I hope you like it. 


On this brass chandelier I first used krylon semi gloss white spray paint for my base coat. 


I took painters tape (you can get painter tape at any hardware store like Lowes ) to cover were the light bulbs go it works really well to cover and easy to take off.


Here is the chandelier spayed with the white base coat. 


I wanted to add special details and I came up with using a lace doily to place on the ceiling fixture. Spray paint it white first let dry then place the lace doily on and spray paint the second color. For this project I used Krylon brushed metallic nickel in a satin.


 I love how it turned out. 


Here is the chandelier sprayed with the final coat of nickel. 

After spray painting I collected perals and crystals to add some sparkle to this chandelier. 


Here is the beauty I saw. 


Remember that anything can be repurposed, with a little creativity and imagination the possibilities are endless!! Get creative and have some fun ~ Leila 


Thursday, July 4, 2013

Dollhouse Bookcase

My sister found this adorable dollhouse that a neighbor of hers was getting rid of, so she called me up to see if I wanted it for my new baby girls room. Now K was still in my tummy at the time and therefore wont be playing with it as it was intended any time soon, so I thought it would make a great little bookcase and display for the time being.


  • I placed all the books on the bottom shelf since the other two levels aren't strong enough for all the books.
  • I added two cute baskets and filled with random toys
  • And place a few other big toys in the remaining spaces
Its perfect for now until she is old enough to actually play with it as a dollhouse.

Remember with everything that the possibilities are endless!

Crystal

Tuesday, July 2, 2013

Old Wooden Drawers Turned Under Bed Storage


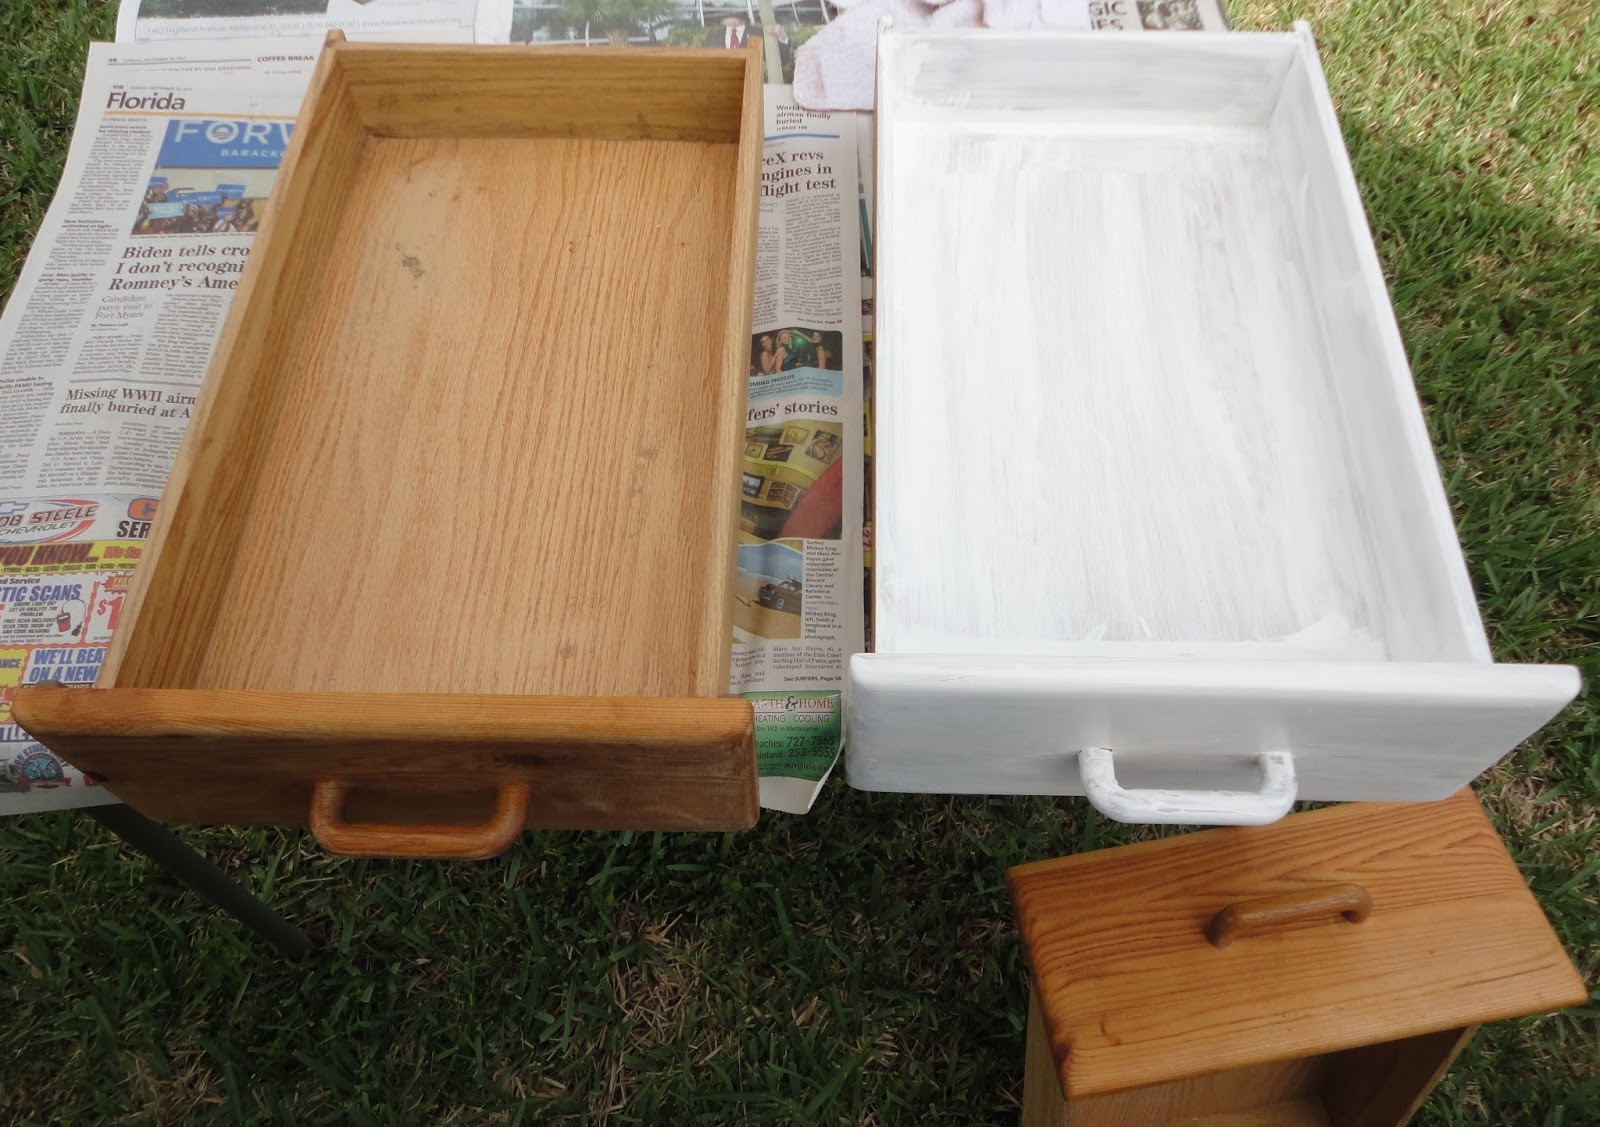
I was doing a kitchen remodel pulling out the old kitchen cabinets and drawers. I realized that the kitchen drawers were sold wood. I wanted to recycle them into something different and this is what I came up with. 


  • 1st I lightly sanded them
  • 2nd I painted them a base white 
  • 3rd I painted them this super fresh blue green 
  • 4th I sanded them to give a shabby chic look


They are perfect under the bed storage for magazines, books, misc items etc.